Diagram of Object Relationships
You can easily see all relationships between objects in your application if you right click on the business space version and select the “Relationships Diagram” from the popup menu (or select this menu item from the “Version” menu). You will see a picture that looks something like this:

This shows all business objects and business object groups in the application – business object groups are shown with the blue edge. If there is a relationship between an object and another object or group you can see an arrow from one object to another. You can also see whether a relationship on either side is single or multiple (1 or 0…*). If you click on the relationship you can see relationship attributes in the objects that represent this relationship. You can drag objects around if necessary for better viewing and you can zoom in/zoom out if you click on the corresponding buttons in the toolbar.
If you click on the “Settings” button you can specify height and width of the box displayed for each object and you can also remove some objects from the diagram by selecting those attribute that don’t need to be displayed. You can click on the “Exclude non-referenced” button to exclude all objects/groups that do not have any relationships from the diagram. You can also save settings under a particular name by clicking on the Save button and then load them by clicking on the Open button. This can be useful if you want to view different parts of a complex diagram – by selecting only the objects you want and then saving selection.
Probably the best thing about this feature is that you can create/delete relationships directly on the diagram. Creating a relationship can be done either by pressing the “Add relationship” button on the toolbar or directly dragging a connector between those objects that you want to create a relationship for.
When you create a relationship using the “Add relationship” button you need to select the objects you want to create a relationship for and then specify the name of the attribute either on the one side of the relationship or on both sides (if the relationship has matching attribute). You also need to specify the type of the relationship on each side and whether it is multiple or single.
To create a relationship by dragging a connector click on one of the objects in the relationship – this will display black circles around the object to indicate that it is selected:
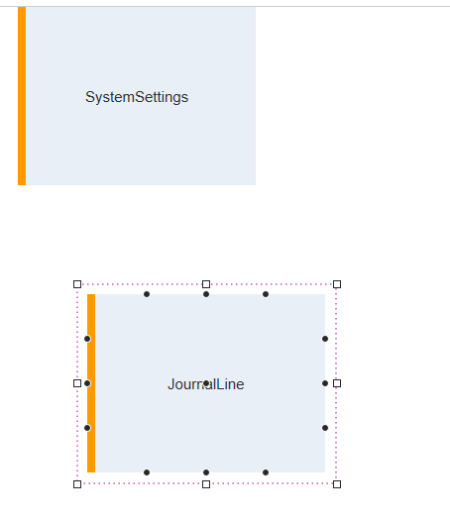
Then hover the mouse over one of the black circles:

and start dragging a connector to another object from this point:

When you release the mouse the dialog will popup where you can specify the remaining properties of the new relationship – attribute names, types and cardinality.
To delete a relationship click on the arrow representing the relationship and click on the “Delete” icon that pops up (or press the Delete key on the keyboard).
Video
This video tutorial explains how to view relationships graphically - using relationship diagrams. It explains how to create and delete relationships on a diagram, how to set different diagram options